Create D365 Quick View Forms in 3 Easy Steps
Quick View forms are a great way to view information from different entities while remaining on a single record. Quick view forms enable you to surface data from associated entities and display the data in read only mode on the form. This is done through linking the two different entitles together using a lookup field. Below you’ll learn how you can setup your own quick view form in just 3 easy steps.
1. Create a Lookup field
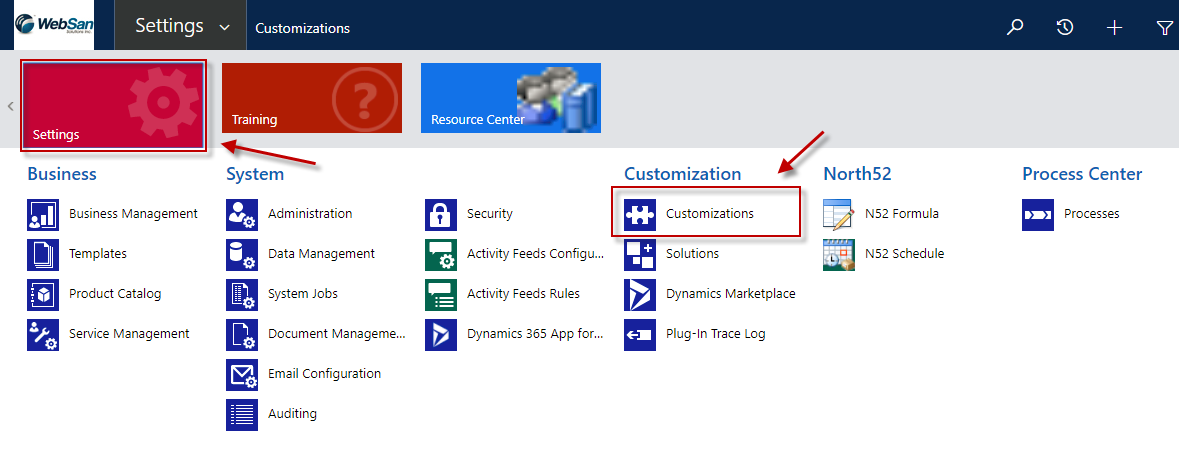
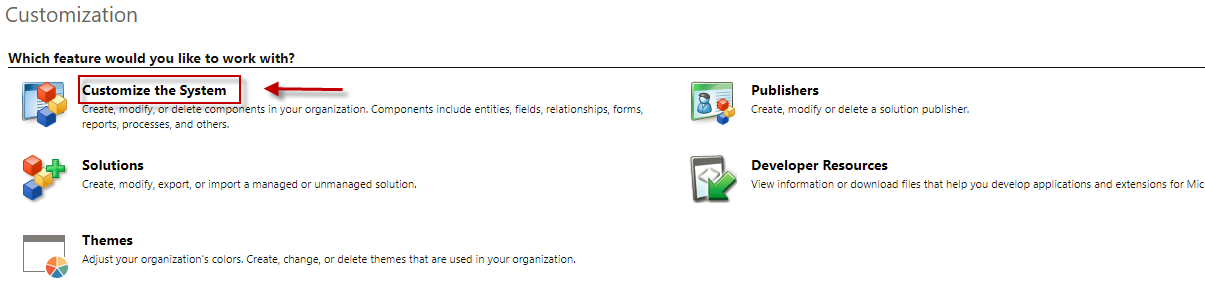
The first step in setting up a quick view form is to ensure you have a lookup field to the entity where the data is stored. If you do not already have a lookup field created, you will need to create one. To do so, go to Settings > Customizations on the navigation bar and select Customize the System.
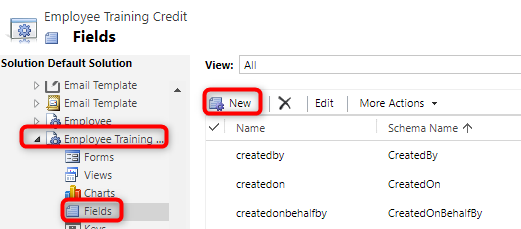
Next navigate to the entity you wish to add the lookup field to, and thereby surface the Quick View form on. Click the Fields node, and create a new field.
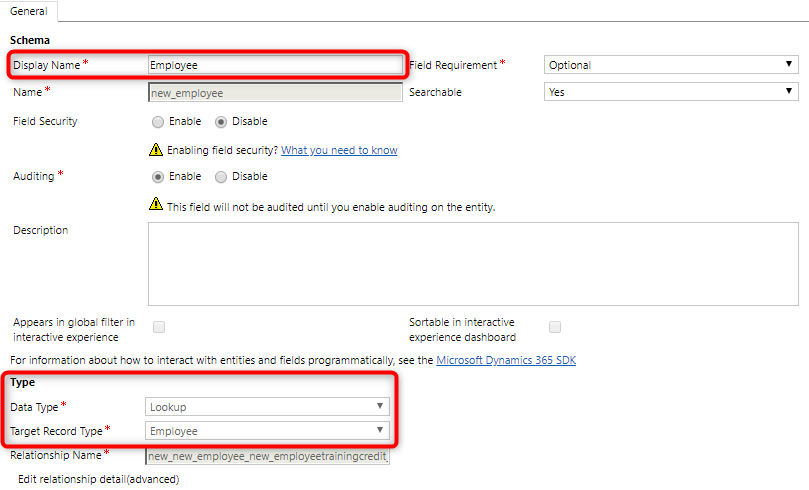
Once you click new, the following pop up window will appear. Indicate a display name and change the data type to Lookup and select the entity you wish to associate to. Once that is done, click save and close.
2. Create a Quick View form
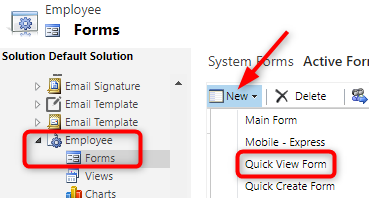
Next, we need to go to the entity the lookup was created for and create the quick view form. Navigate to the entity and go to the form section. Once there click the new button and pick Quick View Form.
This will open the quick form editor window. Here simply drag and drop the fields you wish to display to the form body on the left.
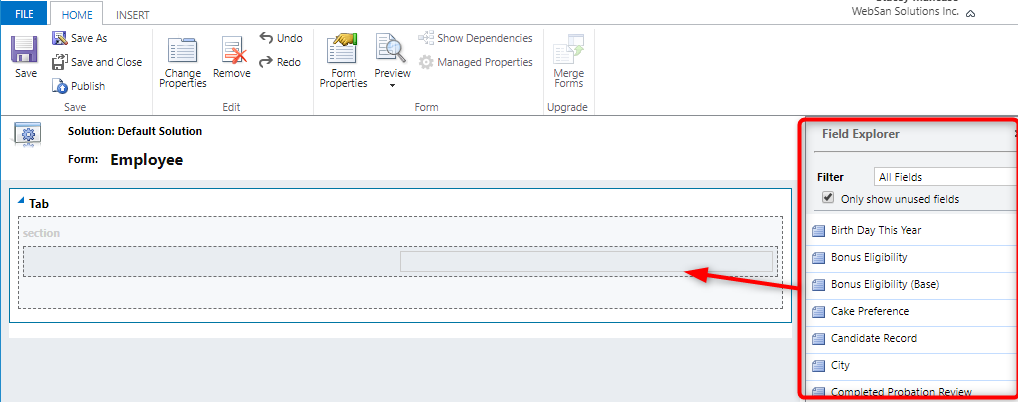
Once the desired fields have been added, click save and then publish.

3. Add the Lookup and Quick View form to a Form
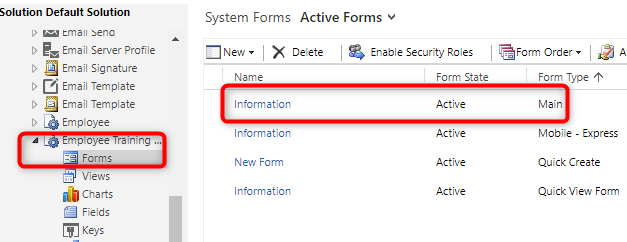
Now that the lookup field and the quick view form have been created, it is now time to add them to a form where you want the associated data displayed. Go to the form you wish to display the quick view form on.
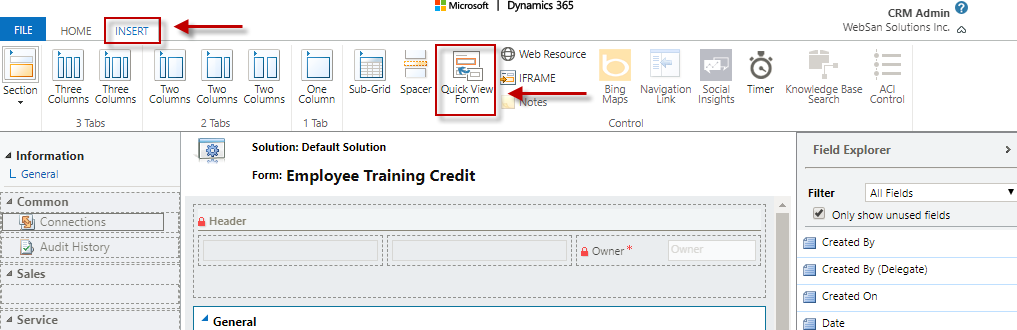
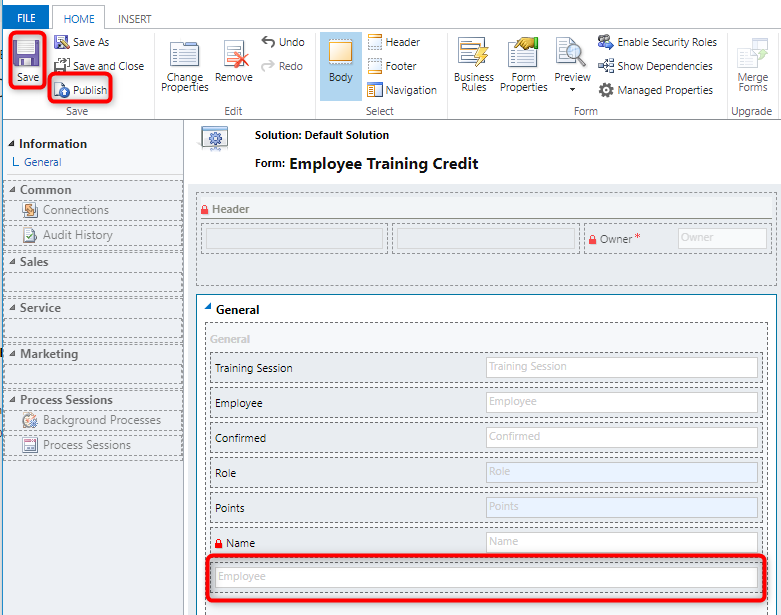
Open the form editor, drag the lookup field onto the form then switch to the insert tab. Here click Quick View form.
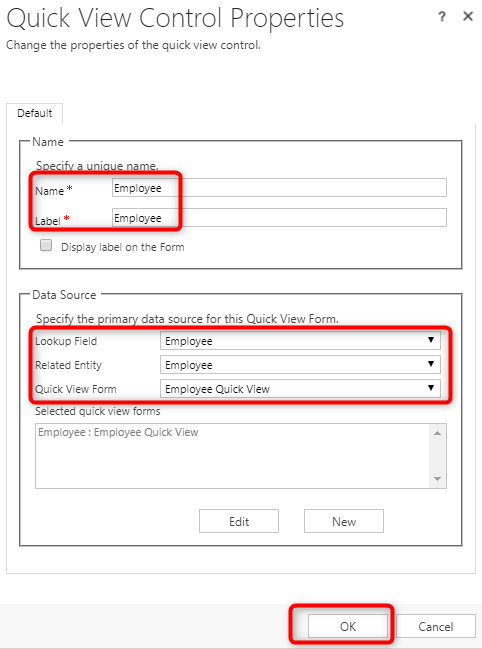
This will open the quick view control. From here, give your quick view form a name, select the lookup field you created earlier, pick the related entity, as well as the quick view form you created. Once done click OK.
This will create a field on the form. To apply these changes click Save and Publish on the Home tab.
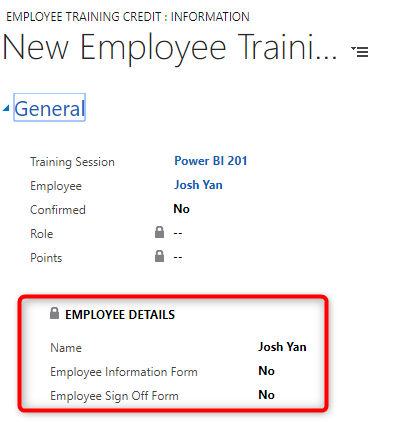
Below is a preview of the result.
Now that you know how to create a quick view form and how to apply it, why not give it a try and enjoy the benefits it affords today! If you have questions or need assistance implementing quick view forms please contact