Setting up D365 Sales and SharePoint Integration
Setting up the native SharePoint integration in Dynamics 365 can greatly benefit your organization. SharePoint allows users to store files, organize them, and provide ease of access to their colleagues. One of the biggest upsides of enabling this integration is that SharePoint offers much more storage space then D365 Sales, so you do not need to worry about your D365 instance running out of storage, thereby incurring steep costs to increase storage limits.
D365 SharePoint integration allows records in D365 Sales to have their own folders in SharePoint, this ensures all files have their own place in the system. This blog will walk you through the step-by -step process on how to setup your D365 SharePoint integration.
Before you get started, ensure you meet the following criteria so the process runs smoothly.
Requirements:
- Dynamics 365 Sales License with System Admin Access
- Office 365 Global Admin Access
Once you have verified the requirements, log into your Dynamics 365 for Sales web client and go to the Settings tab, in the drop-down menu select Document Management.
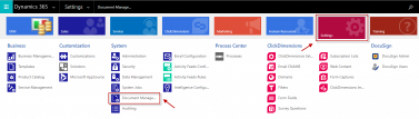
In the Document Management screen, Click on Enable Server-Based SharePoint Integration.

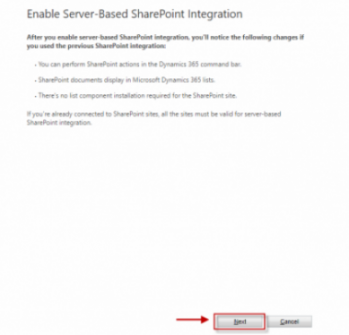
This will open a pop-up window to walk you through the setup, first simply click Next to start the process.
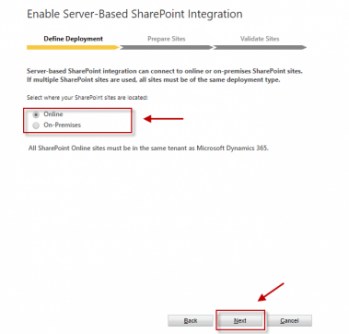
Next select whether your SharePoint is Online or On-Premises, once done click Next.
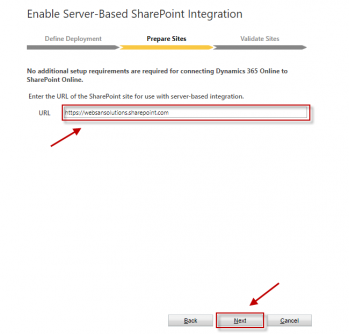
On the next screen, enter your SharePoint site URL. Keep in mind your SharePoint should be under the same tenant as your D365 environment, once done click Next.
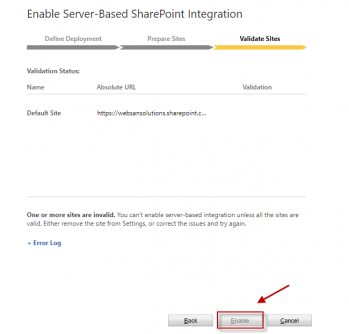
Once your site has been validated, click Enable and this completes your setup process.
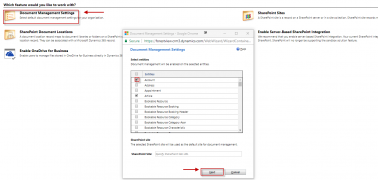
Now that your Server-Based SharePoint Integration has been enabled, you can go back to your Document Management screen and select which entities should be enabled for SharePoint folders.
Click on Document Management Settings and in the pop-up window select the entities which you anticipate storing documents against and click Next.
On the next screen, you can define the folder structure. It is suggested that you choose Account, thereby creating the structure wherein the Account is the primary folder, and associated records fall as sub-folders beneath it. Make your selection and click Next.
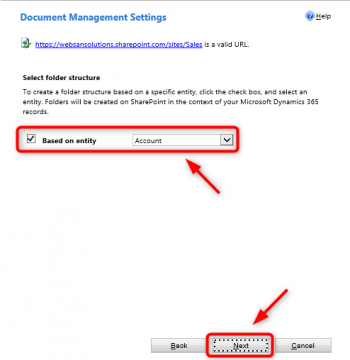
Once this is done, click Finish.
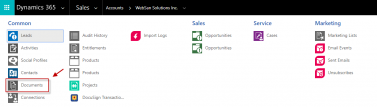
That’s it! If all the steps were performed successfully you will now see a document option under your enabled entities which will allow you to store and manage files using SharePoint directly inside D365.
Enabling the D365 SharePoint Integration can be a huge boost to your office productivity. Users will no longer need to switch between windows and tabs looking for files; instead everything will be linked and managed, so your entire team can access them with ease. If you have any questions contact