Sub-grids in Dynamics 365 - Everything you need in one place!
Wouldn’t it simplify things if you could go to one record and see everything you need to see? Ever find yourself heading into a meeting, and wish you could quickly “ramp up” on all interactions with the Customer? Getting the total picture in one place, enabling you to see every touchpoint, this is the benefit that sub-grids afford you.
One of the great things about Dynamics 365 is that it allows you to customize entity forms to display the information most relevant to your business. You will quickly find that providing your users with the ability to see, at a glance, a subset of related records when viewing a lead, contact or account record provides immeasurable value.
For example, your salespeople may benefit from seeing all tasks related to an account directly on the account record. Instead of having to navigate to a separate page or running an advanced find query, you can easily set this up by adding a task sub-grid to the account form.
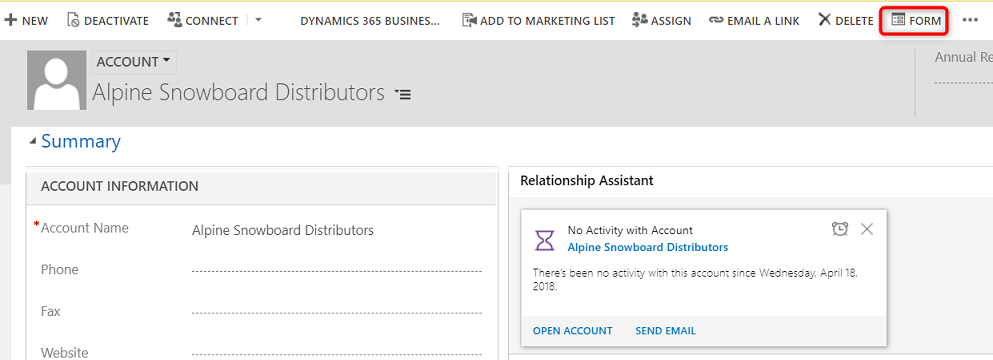
To add a sub-grid to your account form, open the D365 form editor directly from the account record’s ribbon menu or by opening the general customizations menu, navigating to the account entity forms, and selecting the account main form.
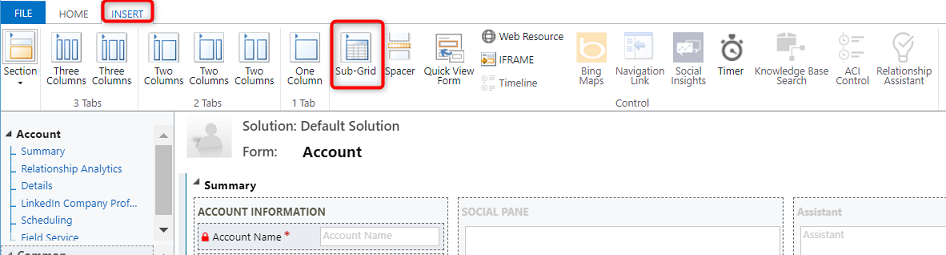
Once you’re in the form editor, select the section that you want to add the sub-grid to, switch to the form editor’s Insert tab, and click the Sub-Grid button.
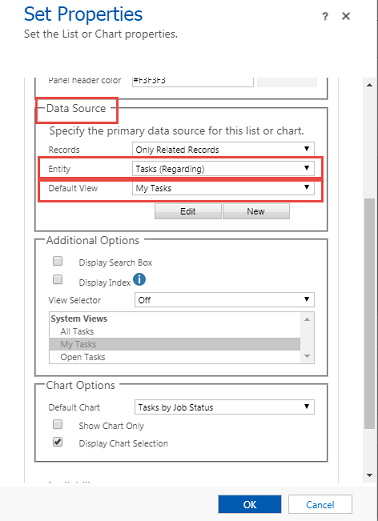
This will open the sub-grid properties window. The most important part of this window is the data source section, in which you select the records that are to be included in the sub-grid.
In the screenshot below I selected to populate the sub-grid with the account’s related task records, but you can choose any of the account’s related entities. In the data source section, you can also specify the default view that will be used to populate this sub-grid, while the additional options section lets you choose any additional views which will be available, as well as whether or a not a search bar will be included.
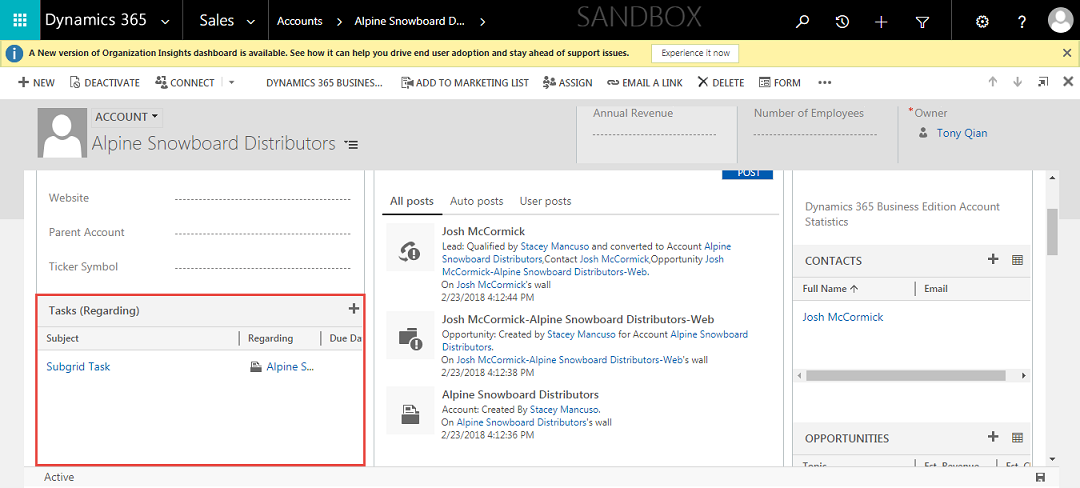
When you are satisfied with your settings, click the OK button to insert the sub-grid on your account form. Now, all you need to do is click the Save and Publish buttons in the form editor to confirm the changes to the form. Once this has been completed, you will see the sub-grid displayed on account records.
If you need assistance or have any questions when implementing sub-grids, please reach out to our support team at