How To create a lead in Dynamics 365 for Sales
How To Create a Lead in Dynamics 365 for Sales
Leads are generated through many different sources, and it can be hard to keep track of them all. To be qualified or disqualified as a future sale a lead must go through the sales process. Dynamics 365 for Sales makes it easier to monitor leads and automate parts of the follow-up process. Get started by learning how to add a lead into Dynamics 365 for Sales.
1.Login to your Dynamics 365 for Sales System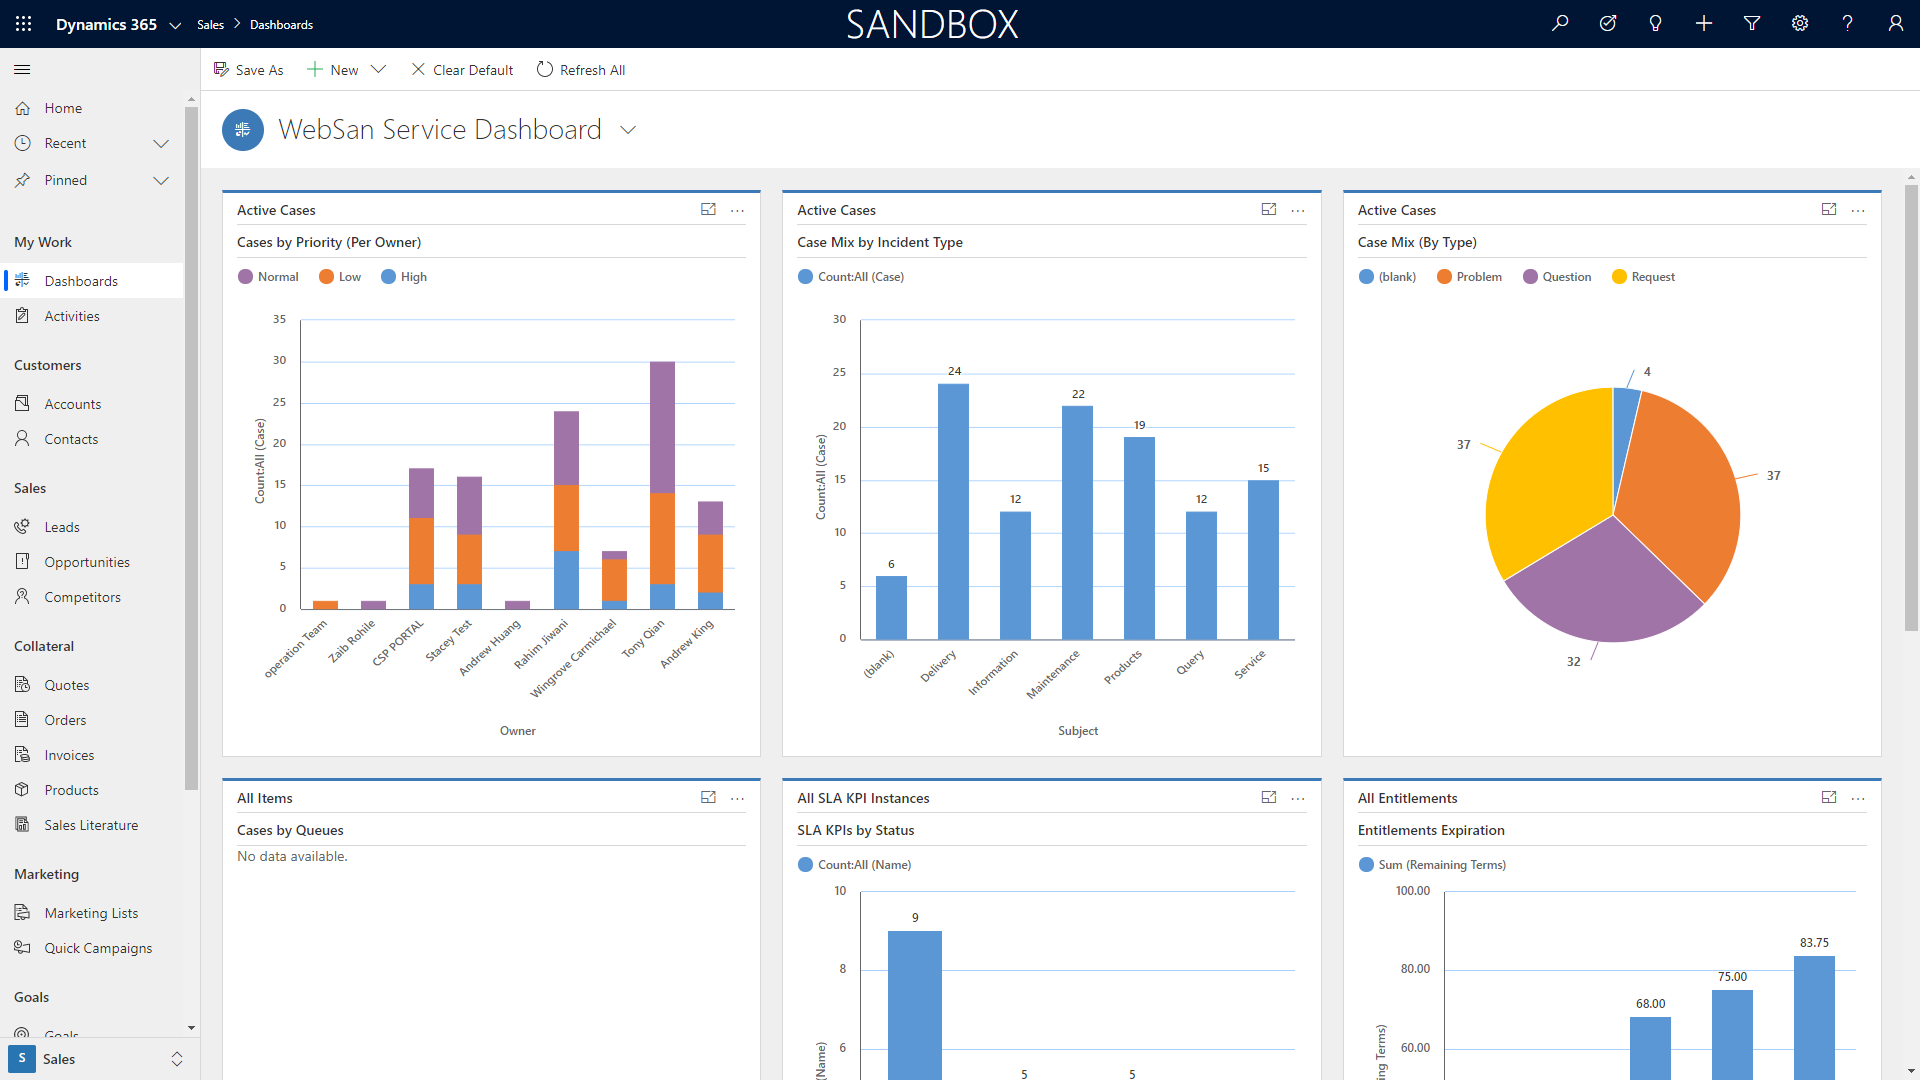
2. Ensure that your Dynamics 365 for Sales dashboard has the sales module open. On the right-hand side, under the sales header, click on Leads.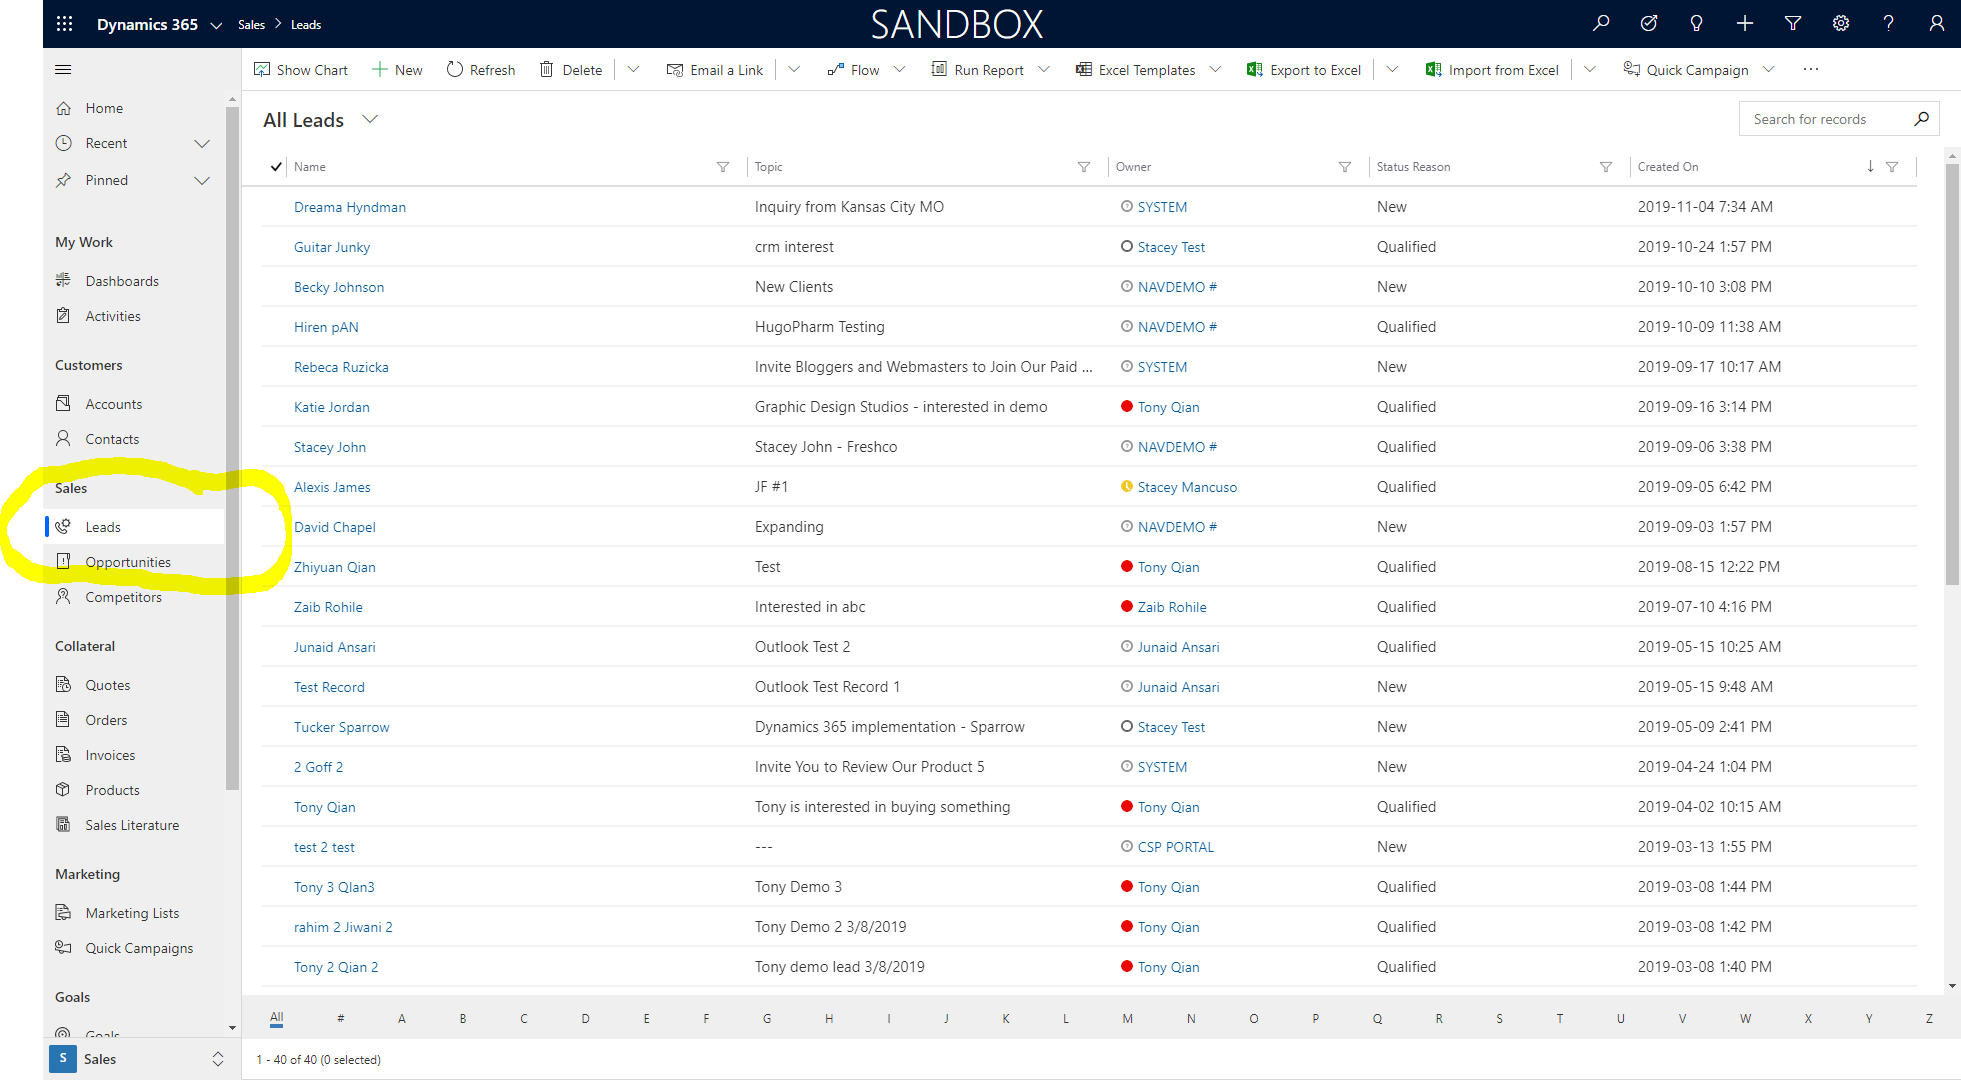
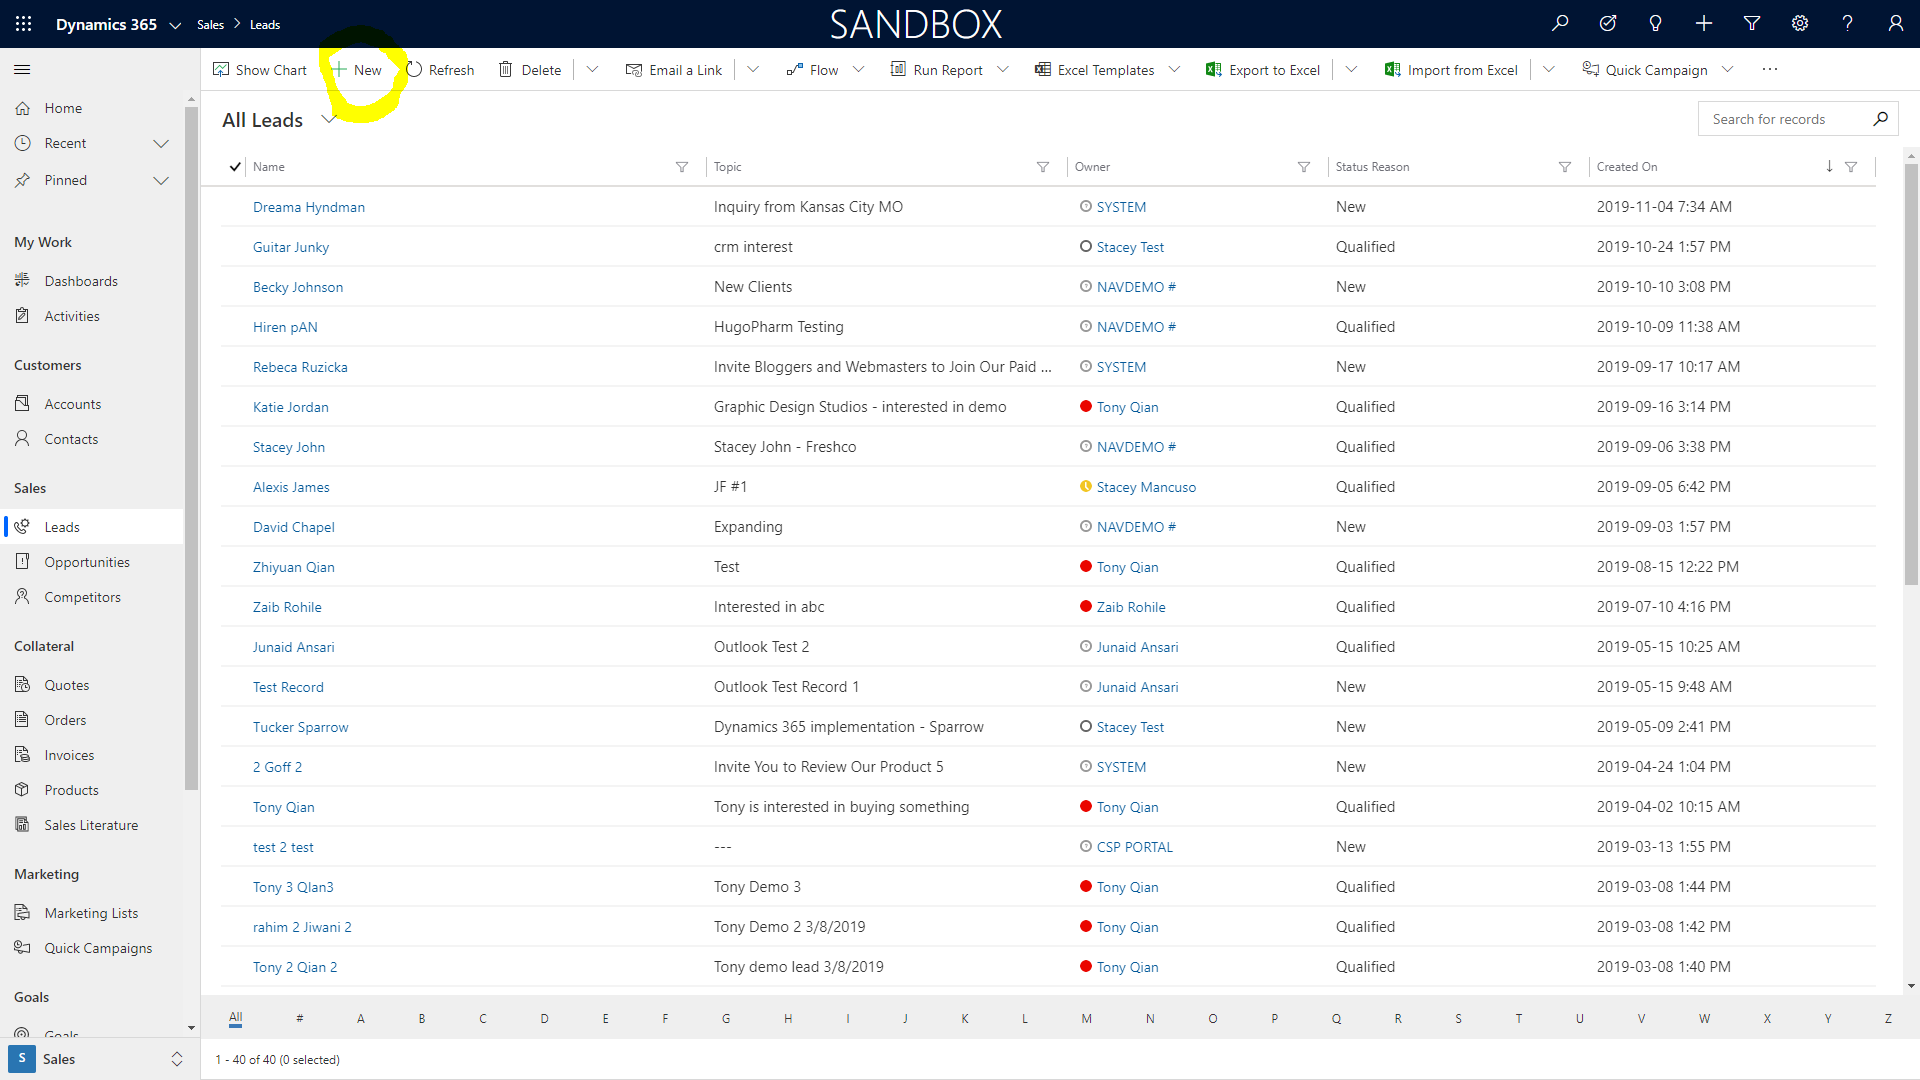
3. After the leads screen has loaded, on the top navigation pane, click on the +New button.
4. To create a lead, start by filling in the appropriate fields. Start with the lead’s contact and company information. It’s only mandatory to add the topic and the last name on the lead record. The lead can be updated later with the other information if needed.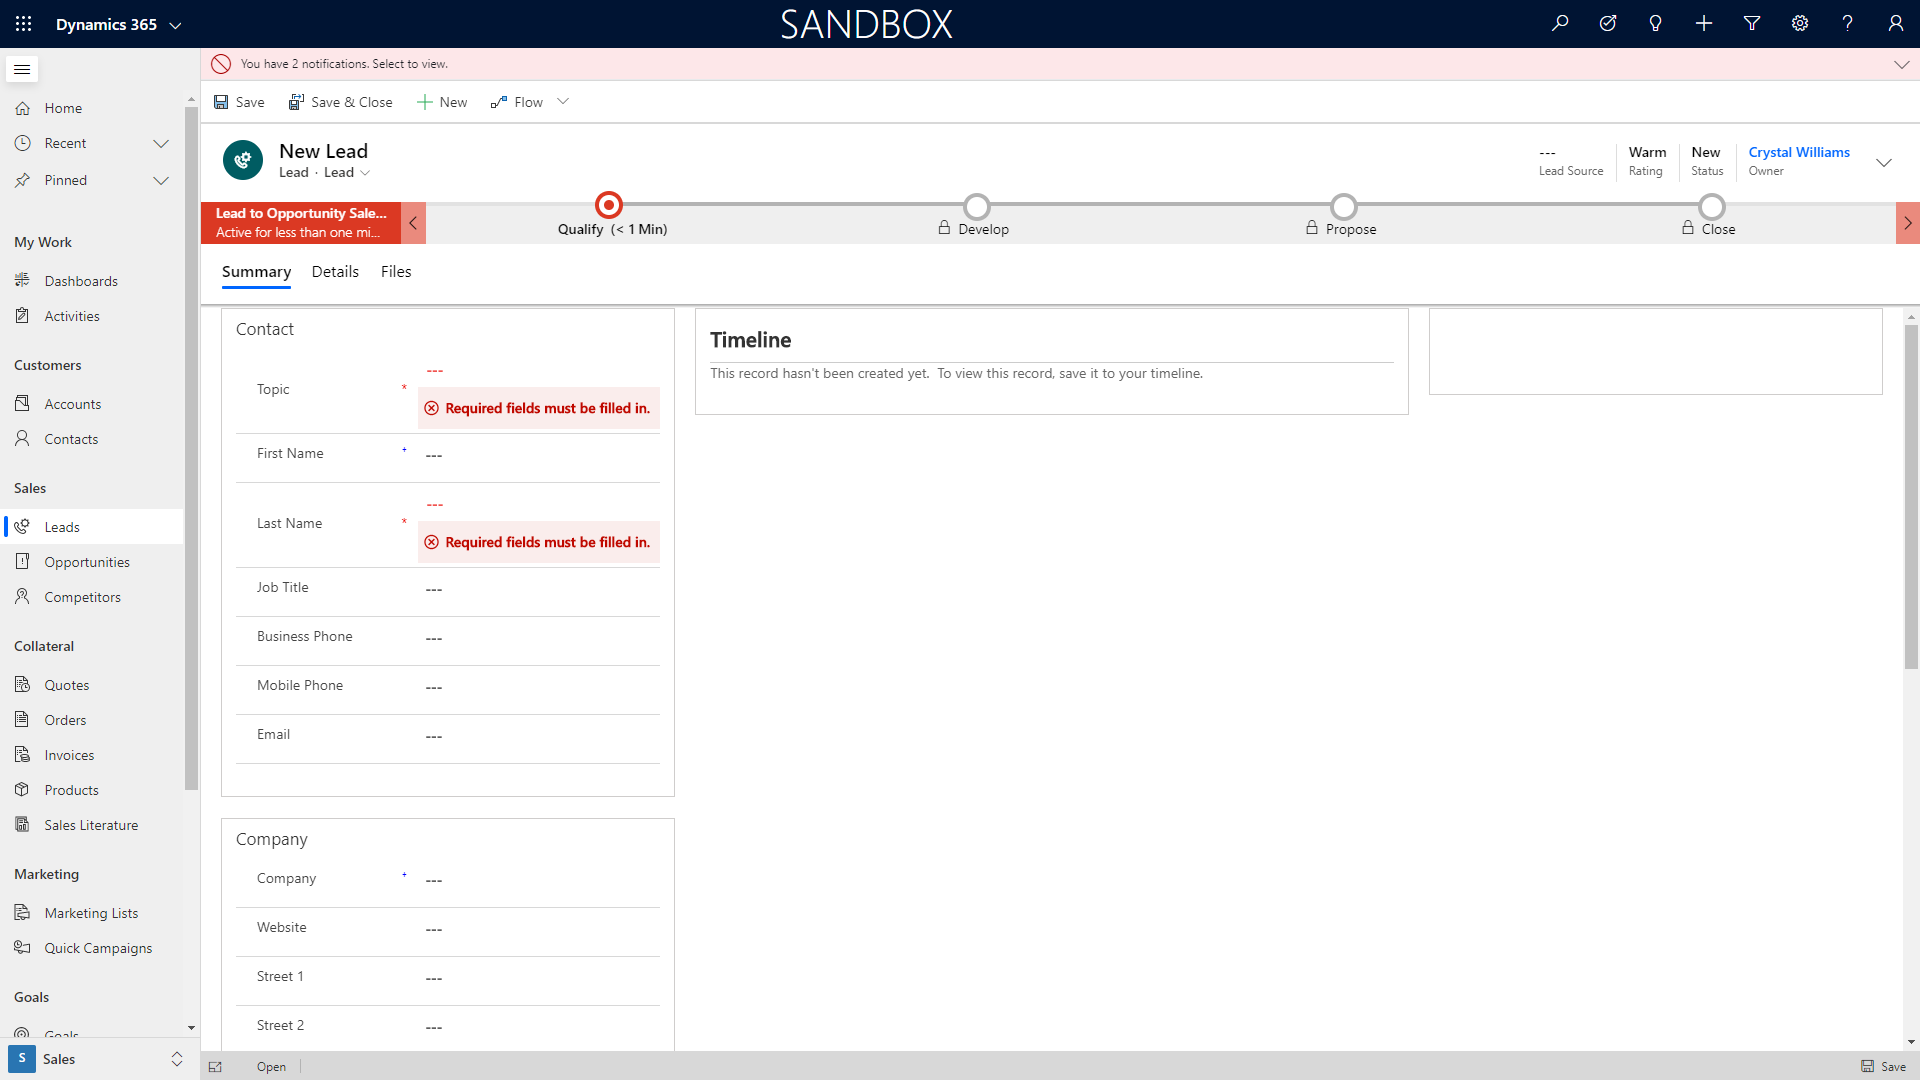
5. After saving the lead record, the timeline section will be editable. Notes can be added to the record. Click on the Add Note button to save the note.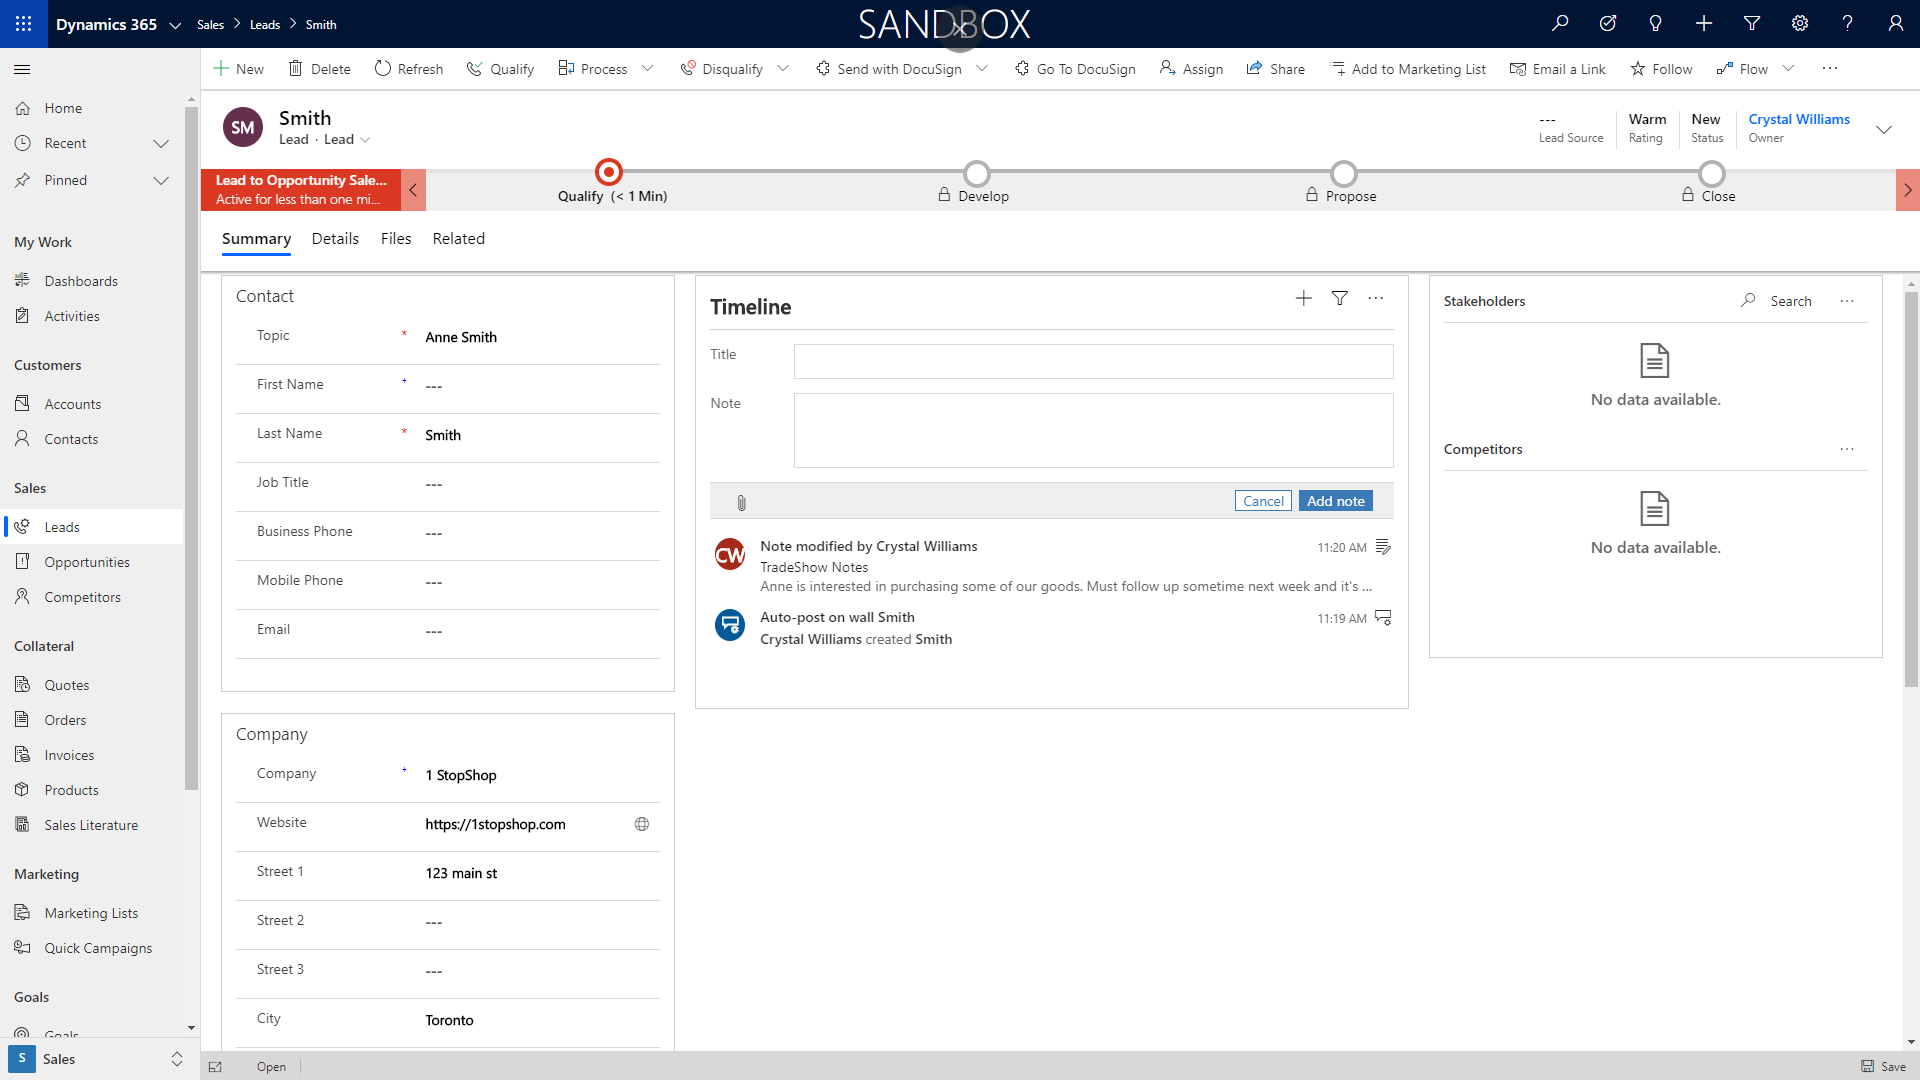
Want to learn more about Dynamics 365 for Sales?
Click Here to register for CRM training at WebSan University.